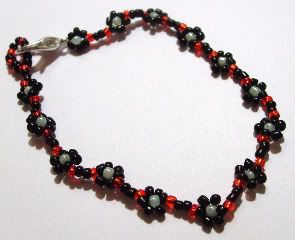
Another easy and fun pattern to follow. It may look complicated but it is beyond simple. One thing I want to clarify though is that none of these designs or patterns is original, I did not create any of them. Hopefully one day I will become good enough to design my own :) But until then I'm sticking to designs that are already out there. There's a lot!!!!
Once you start making these daisy chains you really can't stop. They are very delicate and sweet looking. The beads I used were very small so they made my bracelet very thin and adorable! You can go on forever with it and make a choker, an anklet or even stitch it to boring tank-top's straps to make them fun and trendy.
So, here it goes... :)
Tools and Supplies:
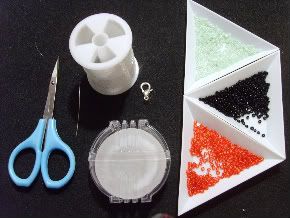
1. Nylon string, the one I use is very fine and called an invisible string. It's very easy to go through small beads a few times with it but it's difficult to make it stay in place so be patient with it. However, if you're using seed beads with a larger hole, I encourage you to use a thicker string because it would be much easier to deal with.
2. A clasp of your choice, you can use a button if you will. A small flower button would look sweet on this bracelet :)
3. Flexible thin needle, if you have a long flexible beading needle go ahead and use it.
4. String wax. My string is nylon so it doesn't really need waxing but I still choose to do so. Waxing a string makes it stronger and decreases tangling.
5. A pair of sharp scissors (Careful for your fingers okay?!).
6. The minimum number of seed bead colours you can use for this design is 2, I chose 3 just for demonstration to create a contrast. And I like the mix of black, red and light green. If you want more colours, by all means :) feel free to add as many as you please!
Now that we have this out of the way...
It's Time to Start:
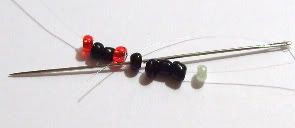
For tips on stringing the needle and stopping the beads from falling off, please review the first step in my Spiral Stitch Weave tutorial.
Right so, this is how you do it. You string on 9 beads. The first four will be the link between the daisies, the next four will make four of the daisy's petals and the last one will be the center of the daisy.
I went with one red, two blacks and another red for the link. After you string all these beads, you go through bead #5, which is the first petal of the daisy as well. And you pull!
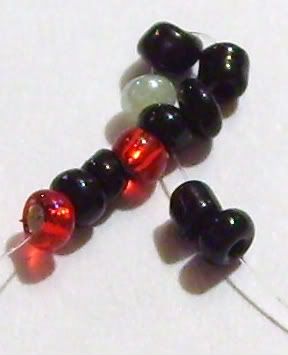
When you pull the string you should end up with half of the daisy just like the picture. So now all you need to do is string on another 2 of your petal beads; black in my case.
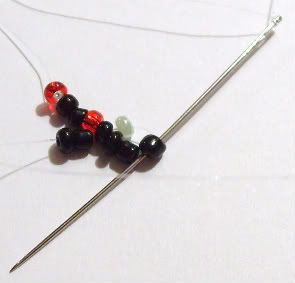
Now go through the last petal you strung on before, it was bead #8 in the pattern and it is the last bead before the daisy's center bead. And pull!
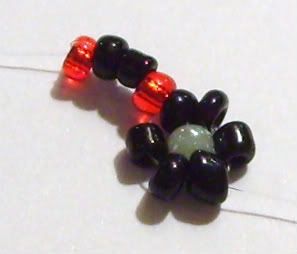
Looking adorable, isn't it? :D
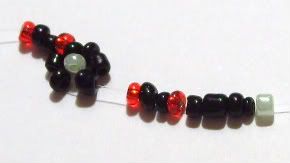
Repeat the first pattern. 9 beads: 4 for the link, 4 for the petals, and one center bead. See how uneven my beads are? It's okay if yours are uneven too, it doesn't matter. It might look a little weird but who cares? :)
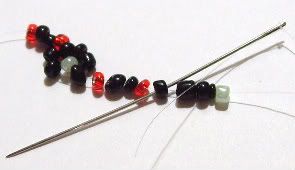
Go through bead #5 again. First bead after the link and first petal, and pull.
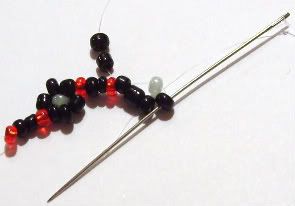
Repeat: Add another two petal beads and go through the last petal bead; last bead before the center bead. And pull!
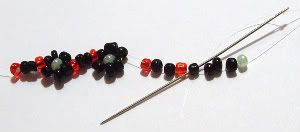
Just repeat the same pattern. Like I said, my string is a little too thin and it keeps sliding out. Tension is very important to keep the pattern in place so what I did to avoid this was that every two daisies I went through my work again to tighten things. This will make it stronger and tougher to break and it will tighten the pattern and keep it in place :) You might want to do that too.
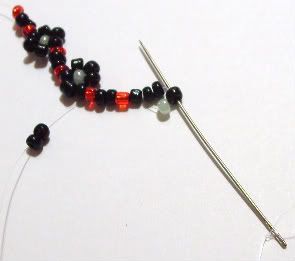
Easy, isn't it? Add 2 petal beads and go through bead #8, last petal you have before the center again. And pull.
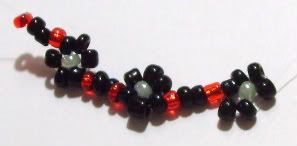
See the difference between the first two daisies and the last one I made? That's why going through the work twice is better.
Keep going till you reach your desired length :)
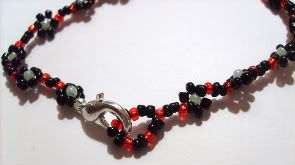
Once you feel like the length is fine you can stitch your clasp/button on one end and make a loop on the other end. It is very important to go through the loop and the clasp as many times as possible to make sure it doesn't break.
Now that you're done, enjoy the piece you've made :) they really are very delicate looking and sweet. Perfect for any trendy girly-girl :D

So cute!
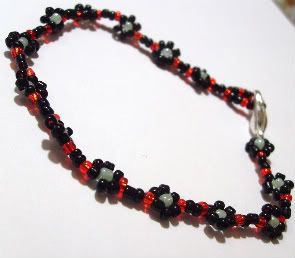
I hope you had fun making it like I did :D Love what you do, I know I do!!!
Enjoy and best of luck,
Nadia.