Heart Felt Keyring
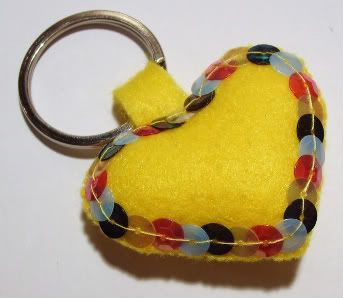
Hi again. In this tutorial you'll learn how to make a keyring that looks like mine! Cute, isn't it? The same pattern for the sequence can be applied for anything you may desire, even your jeans!
My goal here is to open your eyes to the endless amount of options you can have with the techniques you're learning here. If you wish yo create a replica of this tutorial, sure, why not? But you can create a flower with the same sequence pattern if you'd like. I want you to imagine what else you can do with it. Don't stick to this, by all means, go creative!
Felt is very nice to deal with. It's strong and flexible at the same time. It comes in many colours or even prints. Working with felt is very fun because you have to prepare the pieces first and then stitch them together like a puzzle. I chose yellow because it's bright and you can easily see what's happening. One thing I urge you to do is pay attention to what you're doing. Tangled strings are a pain and nothing looks nicer than a clean stitch :) so here we go... Time to roll up those sleeves!
Tools and Supplies

1. A sharp pair of scissors (Careful when you use it, accidents can happen!).
2. Two small pieces of felt and an extra smaller piece for the link (Or you could utilize the remains after you cut out the heart shapes if you like).
3. Regular sewing needle.
4. Any colour sequence you like and as many colours as you like.
5. String that's the same colour as your felt.
6. A key ring.
7. Padding. You can buy a cheap pillow and cut it open to take the padding, that's what I do. :)
Let's Get Down to Business
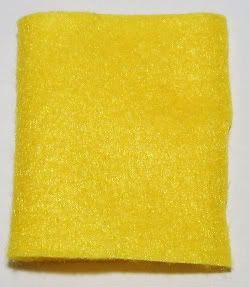
Take one piece of your felt and fold it in half as shown in the picture.
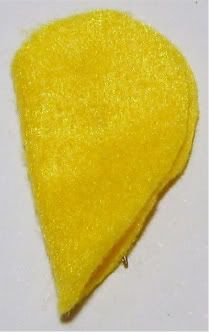
Cut half a heart shape like the picture. You can put a pin through it to make sure it doesn't unfold while you're cutting. And be careful if you're using sharp scissors.
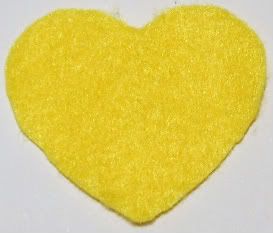
This is what it should look like unfolded. Promising!!! :D
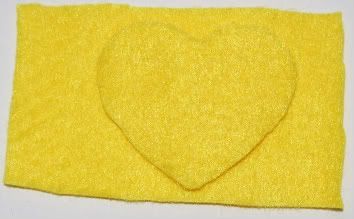
Now place your first heart ontop of the other piece and cut it. You can do so by either tracing it with a pen and then cutting it individually; which I don't advice because the pen will mark it around the edges whether you like it or not. Or you can hold them together and cut around it. You can pin the two pieces together if you'd like to secure them in place and prevent them from moving.
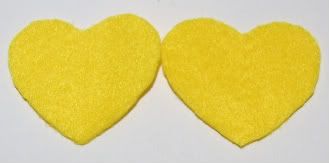
TWINS!!! On a more serious note though, make sure you don't flip one of the sides because then they won't fall ontop of each other nicely when you want to stitch them together. So pay attention to that when you are working with anything that has two sides, a front and a back. A little trick I used to do when I first started: Put a dot with a pen on the sides that'll go on the inside of each heart, this way you'll know which ones will show.
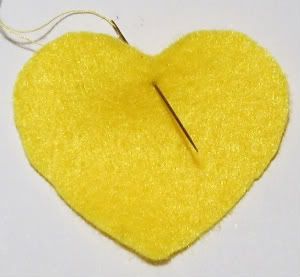
String your needle and put it through the front side of the heart.
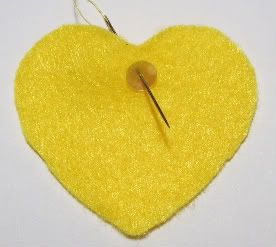
Put the first piece of sequence through the needle and bring it up.
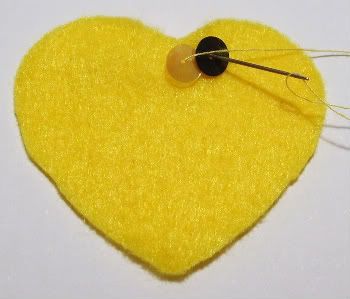
Add the second piece of sequence before you go back through the heart. Keep the pieces close to each other and layer them on top of each other like that.
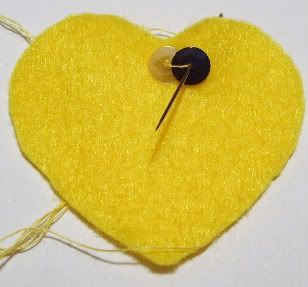
Bring the needle out through the second piece just like the picture and keep going the same way. I'll leave you to the pictures :)
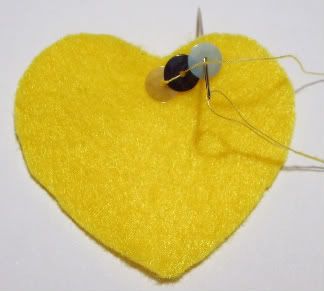
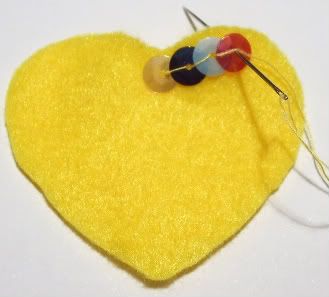
This is how you add the last piece, it may look tricky but it really isn't!
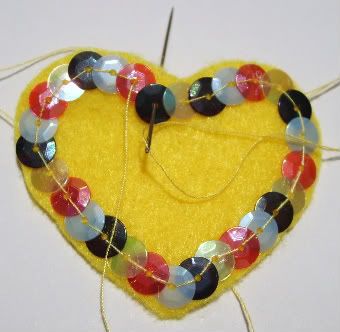
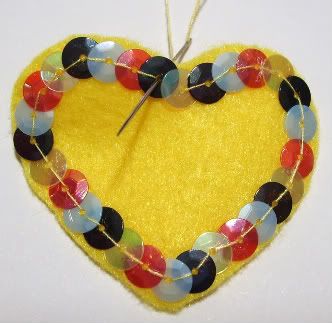
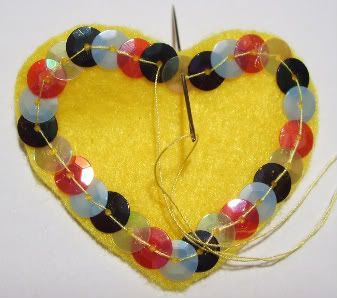
This is what it should look like after you tie and cut the string:
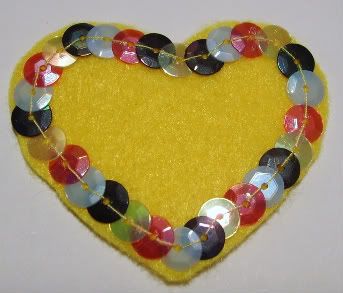
The difficult part is over! We're almost there :D If you need to replace your string because it's too short or something, do so now. You don't want your string running out on you half the way through the stitching; it'll cause an unwanted knot!
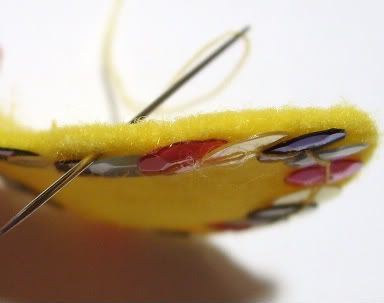
Make sure when you bring the needle out not to go through the sequence again. The first three stitches are always the trickiest so be patient. :)
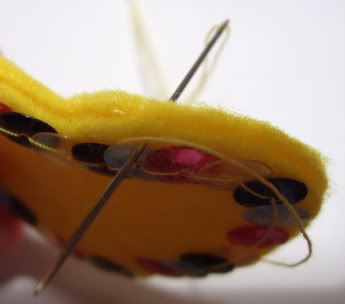
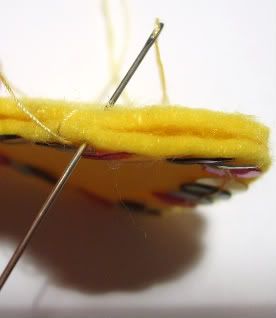
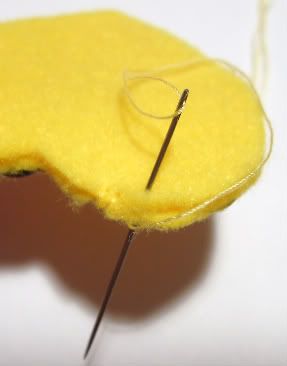
Keep going around until you reach the other side. However, leave a little opening. Just like the picture:
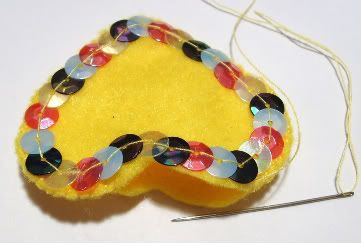
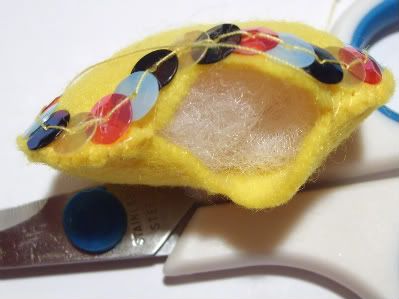
Leave the needle and the string where they are and stuff the heart. You may use a pencil, pen or even your scissors to push the padding down and fill it all up. Just don't over stuff it or else it'll be difficult to add the link and then stitch it closed.
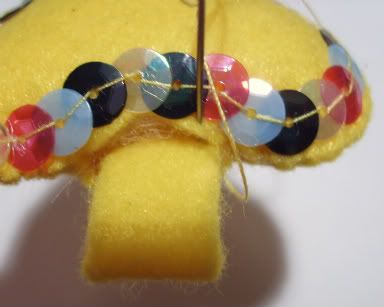
Now add the link and stitch it closed. You won't be going around the heart like you were before, instead you'll go in and out to secure the link in place. In case you're stuffing the heart with something heavier, or you plan on hanging a few keys there, you may want to go in and out of the link more than once to secure it in place.
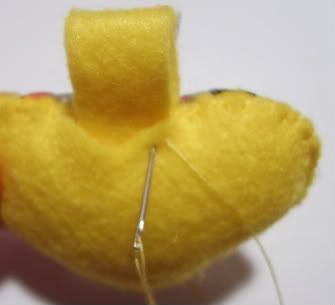
Now that you're finished, slide the ring in and add your keys if you wish :D
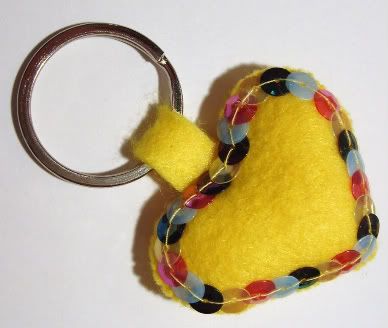
Things like that are very easy to make, very cute to use and very lovely to present as gifts to family and friends.
A simple keyring like that should not take long to complete. If you don't love what you're doing, then you'll run out of patience after the first stitch.
Make sure you love what you do :D I know I do!
Hope you liked it,
Nadia.
No comments:
Post a Comment