Spiral Stitch Weave (Also Known as DNA Stitch):
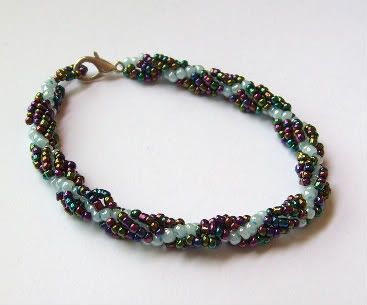
This stitch is very basic, very easy and the outcome is always gorgeous as you can see in the picture. The key to the success of this stitch is choosing contrasting colours; otherwise you won't see them going in a spiral way like that and it'll look like a big bulk of beads.
Two things you should pay attention to: 1. Choose the core bead (Blue in my case) a little bigger than the spiral bead (Dark multi-colours beads in my case). 2. Keep your work very tight the whole time. And don't worry about the bracelet coming out rigid, the way you weave it will force it to stay flexible.
I would like to call the blue beads the "core bead" and the spiral one a "contrasting bead". Reason why I will call it this way is because you might choose to go with different colours and confusion might happen.
Tools and Supplies:
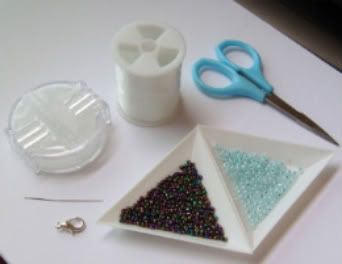
1. A pair of scissors.
2. "Invisible string" or the finest nylon string you can find. The string needs to be very thin becuase you will go through the beads more than once. Most beaders use what's known as the "fire wire" but sadly it is not available where I live.
3. String wax: It will decrease the troubles of the string tangling and knotting.
4. Thin flexible beading needle.
5. One lobster clamp; or any other lock you may wish to use. A toggle can work just fine as well.
6. Your core beads: Larger in size.
7. Your contrasting beads: Smaller in size.
Okay Are You Ready for Some Action Now?
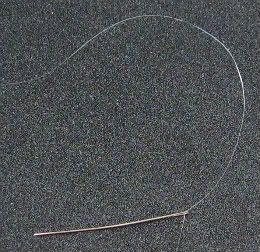
First of all you need to string your needle. A little trick I do because I use a very slippery and tough to deal with nylon string is that I tie two knots around the eye of the needle. This will keep the string in place and you will never have to deal with it escaping the needle. Don't worry about the knot getting in the way because the string is too fine to cause any troubles. The knots will go through the beads just fine.
Moving On
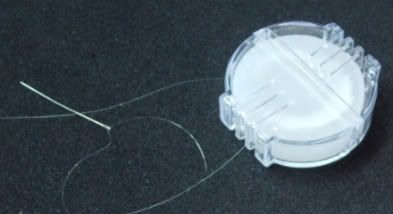
Wax your string now. Just press the string against the wax and pull it. Wipe off any excess wax you may get on the string with your fingers. Now you're ready to work! Finally huh?
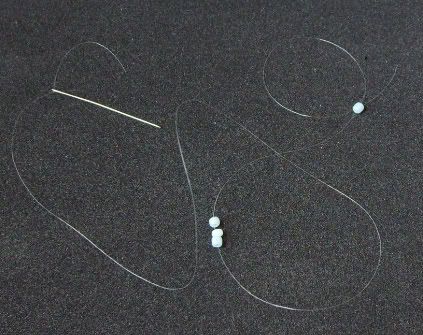
The first few stitches are always the hardest so be patient. String four of your core beads on the string you're using. However, to prevent the last bead from falling off I suggest you make a loop through it and then tie the string like you would when you're stitching normally. In this picture I did not leave enough tail because I was using a small piece of string for this tutorial. You, however, should leave a big tail because you will use it later on to make the loop for the lock you're using.
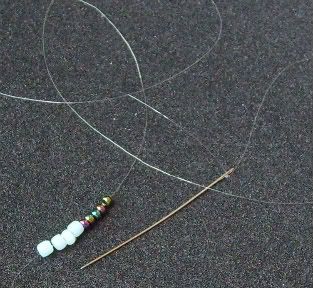
This step is easy, just string five of your contrast beads and bring them all the way down the string like that.
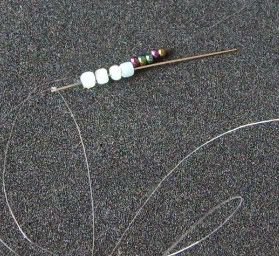
Go through all four core beads. Make sure you don't go through the contrast though! Be careful. Like I said the first few steps are always the hardest so be patient and have fun with it. :)
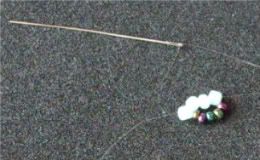
Pull and tighten your work. It should look something like that. Wooo the fun's just beginning! :D
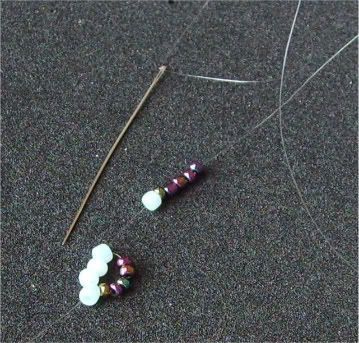
Okay pay close attention here. You string just ONE core bead and FIVE contrast. Don't string 4 core and 5 contrast like the beginning. 1 core and 5 constrast, easy, is it not?
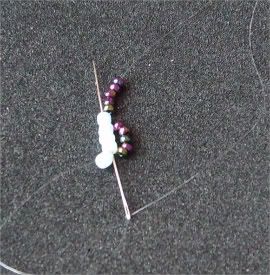
My camera failed to focus so I apologize for the quality of most of these images, especially this one. Okay here's what you're going to do now: Bring all the beads you strung to the end of the string and go through the last 4 core beads. These are 3 that were already there and the new one you just strung.
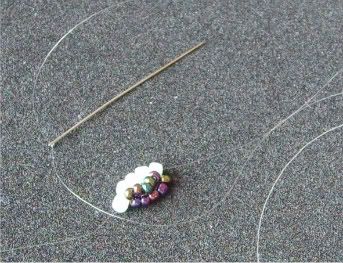
Pull and tighten your work, this is very important. I know that nylon strings are very difficult to deal with but you must keep the work tight. You see how it's starting to take form now? Yay!
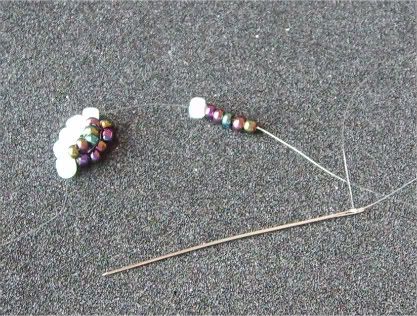
Repeat: ONE core and FIVE contrast. Very easy, very pretty and it doesn't take a lot of time either. You can go on forever and make a necklace for yourself or even a belt! It's very cute and fun to make.
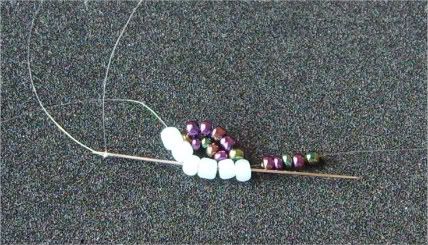
Again, go through the last 4 core beads. That is 3 already strung and the one you just added. Leave the contrast alone do not go through these.
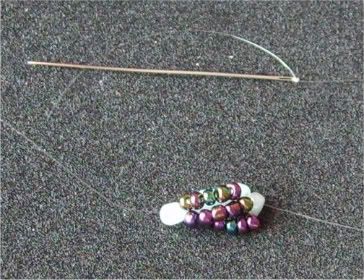
Pull and tighten your work again. Just keep going like that, I will let the pictures speak for themselves :) You're basically repeating the same step over and over until you reach the desired length.
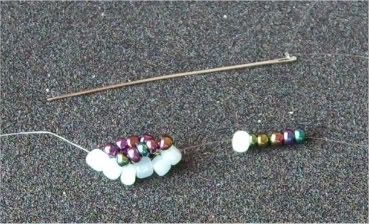
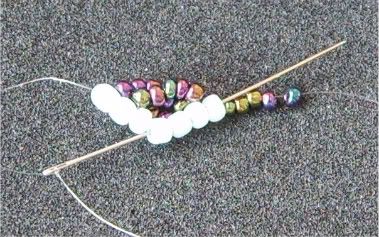
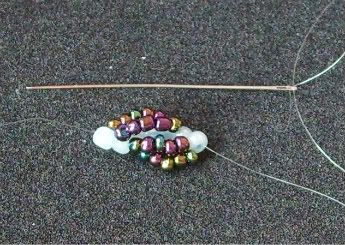
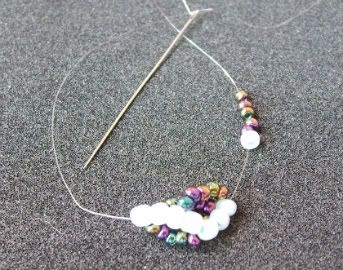
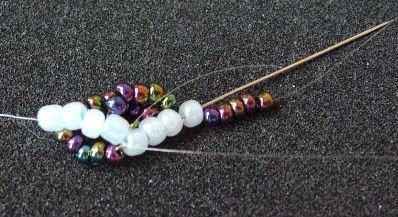
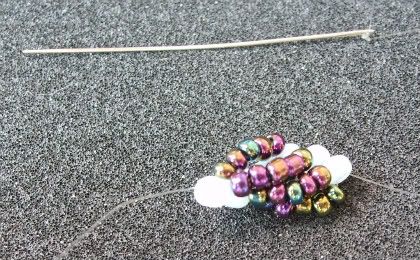
And congratulations! Your first piece of the spiral stitch is done!!! This is how it looks like in comparison to a longer piece:
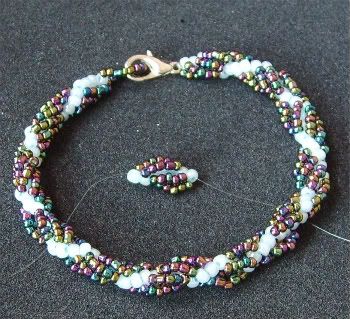
See? Just keep going like that and you'll end up with a bracelet like mine. Keep the work tight, very tight.
All that's left is a loop for the clamp and the clamp itself. Just stitch them on like I did in this picture and you should be fine:
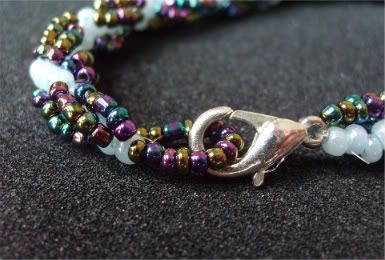
It is very important that the string does not show. If you can't find a nylon string and can find something else that is as strong (Generally the wax makes the string stronger so wax any string you use. Fire wire is already waxed but as mentioned before, no access to it) go with that string, just make sure it does not show or else it'd ruin the design for you.

Looks nice, doesn't it?

Try and look at it from different angles

How about this one?

Yup, show off your new bracelet, necklace or belt. Choose whatever colours you want. Mix colours you don't have to stick to one colour in the core... Whatever rocks your boat.
Just make sure you love what you do :D I know I do!
Hope you had fun,
Nadia.
No comments:
Post a Comment